Raise the Dead with These Halloween Nutter Butter Zombie Fingers
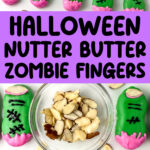
Get ready to raise some spirits (and eyebrows) with these spook-tacular Nutter Butter Zombie Fingers! If you’re looking to bring your Halloween dessert table back from the dead, these creepy cookies are a no-brainer. With a crunchy candy coating and ghoulish decorations, they’re so delicious your guests will be dying for more. Even the most lifeless of partygoers will be unable to resist a bite—just don’t lose your own fingers in the feeding frenzy! Grab your Nutter Butters and let’s get grave-digging in the kitchen for a treat that’s drop-dead delicious!
Why these cookies are so great:
- Unique zombie finger cookies guaranteed to impress even the most cynical Halloween party guest!
- Perfect for Halloween parties, school parties, potlucks, work parties, or any time you want a unique Halloween treat.
- Easily double or triple the recipe for a large crowd or party.
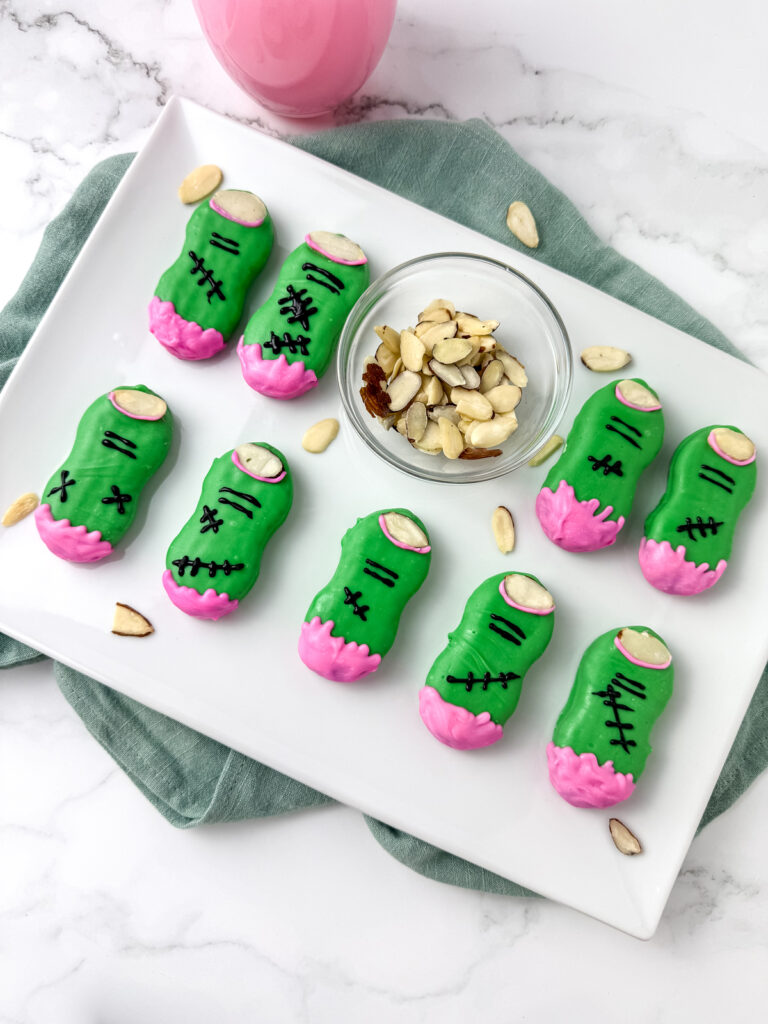
Halloween Nutter Butter Zombie Fingers
Yields: 10 Nutter Butter Zombie Fingers
Prep time: 40 minutes / Idle time: 12-14 minutes
Total time: 54 minutes
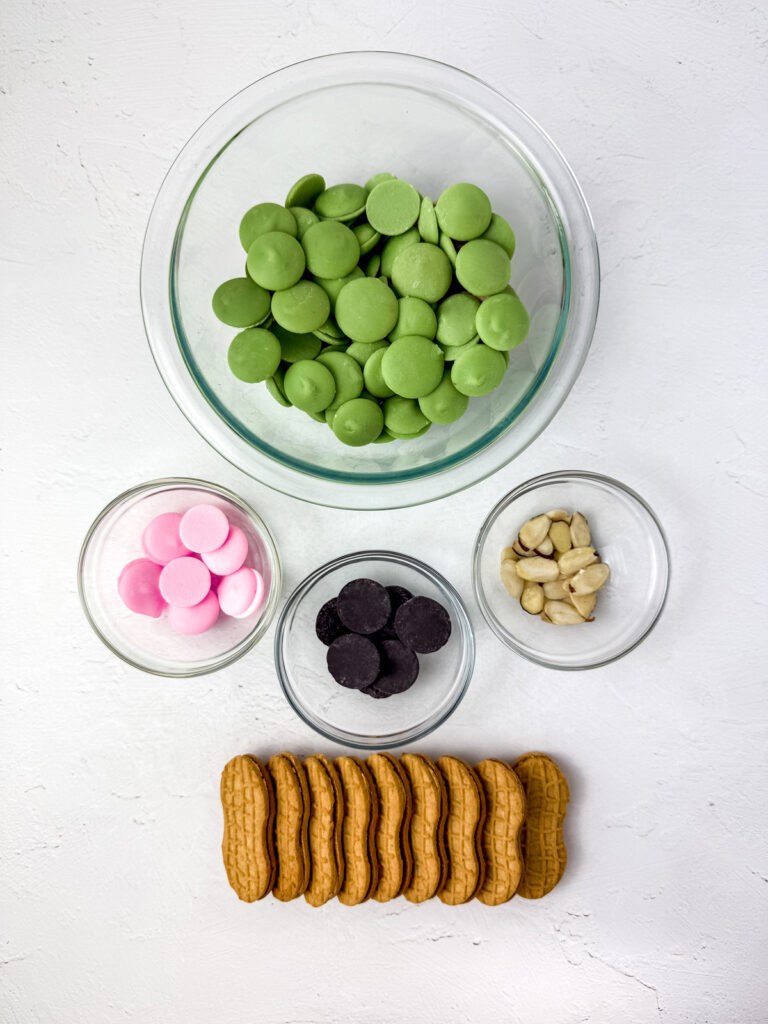
Ingredients
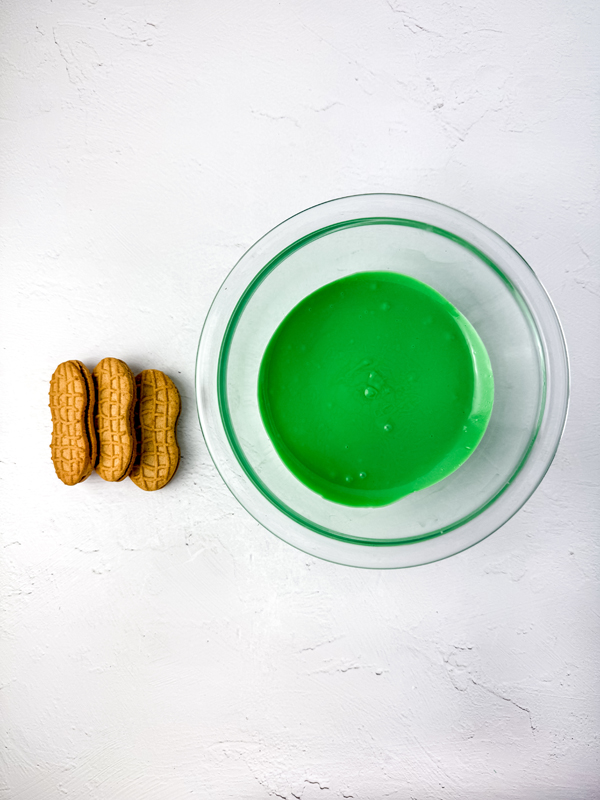
- 10 Nutter Butter Cookies
- 5 Ounces Green Melting Chocolate
- 2 Ounces Pink Melting Chocolate
- 1 Ounce Black Melting Chocolate
- Sliced Almonds
Instructions
Begin by melting the green melting chocolate in a medium size microwave safe bowl. Heat the chocolate for 30 seconds at a time until melted. Be sure to stir the chocolate in between each time.
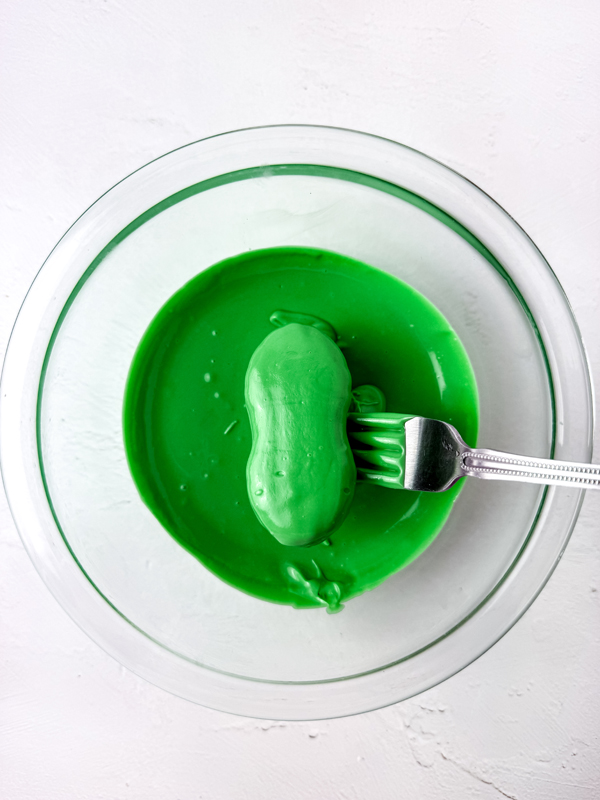
Dip the nutter butters in the green chocolate one at a time.
Then use a fork to take the nutter butters out.
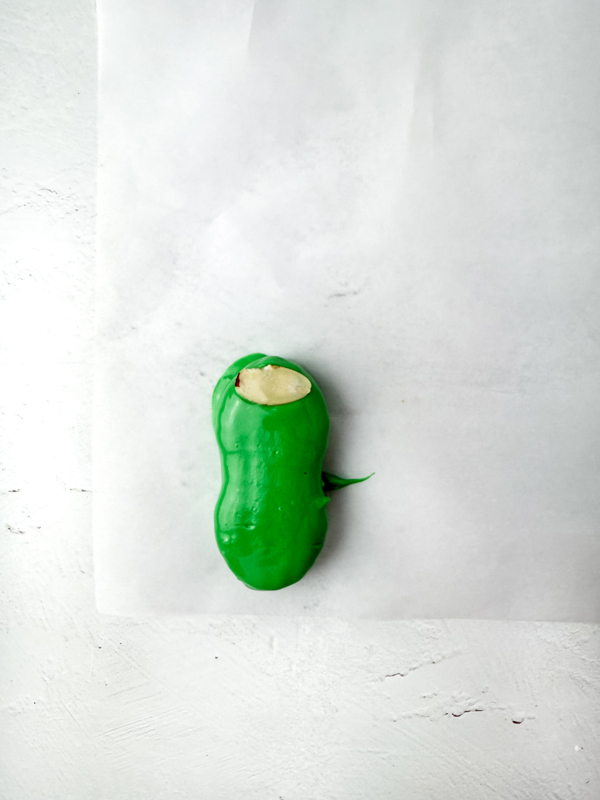
Wipe off any excess chocolate and lay them on a sheet of parchment paper.
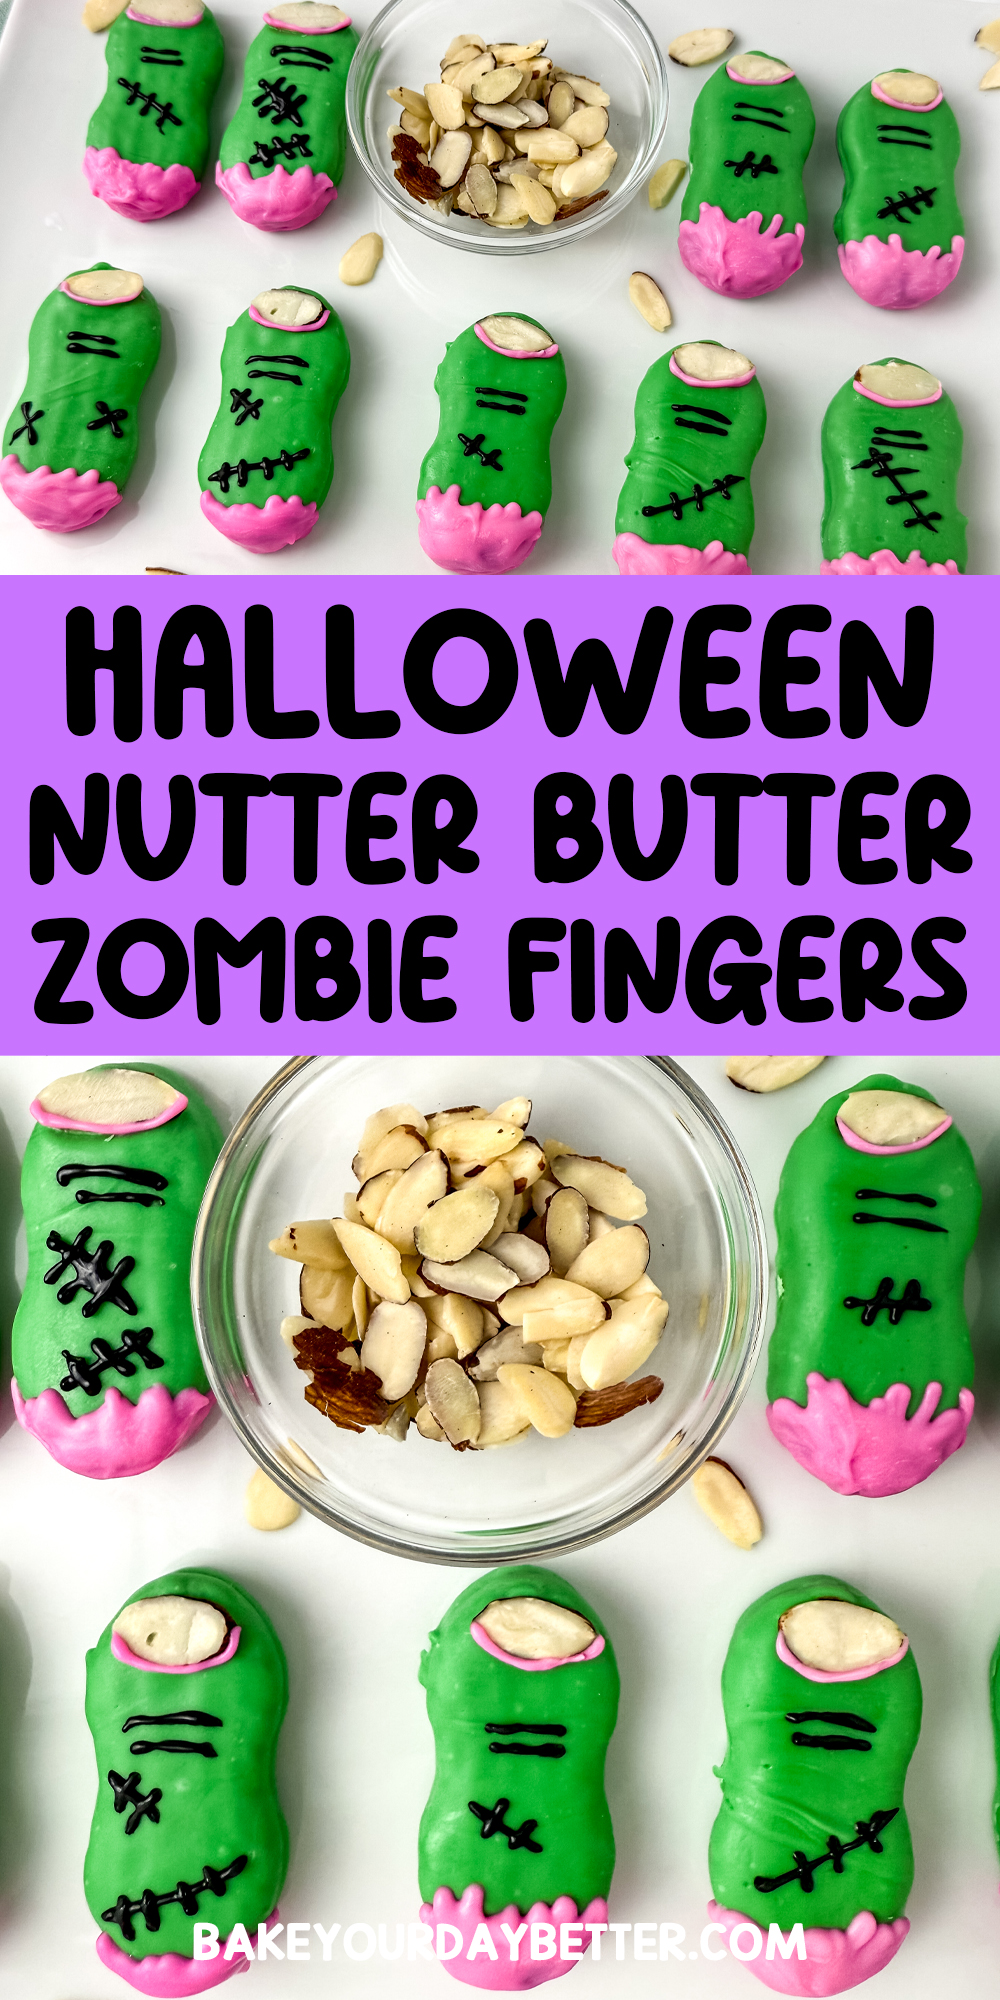
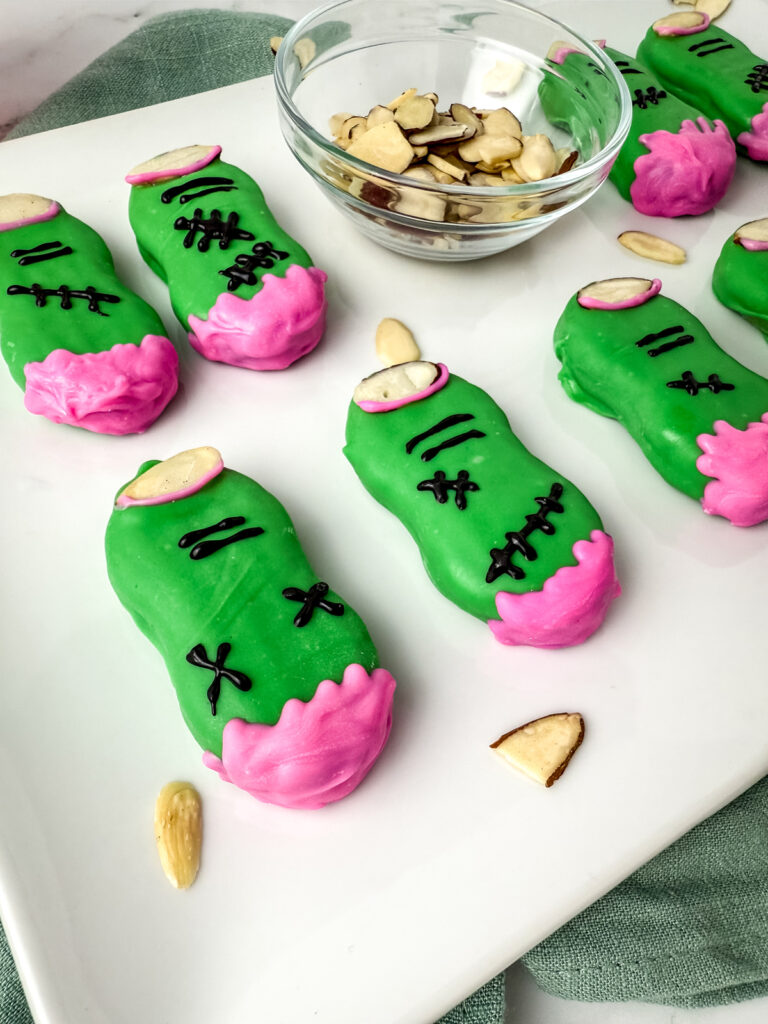
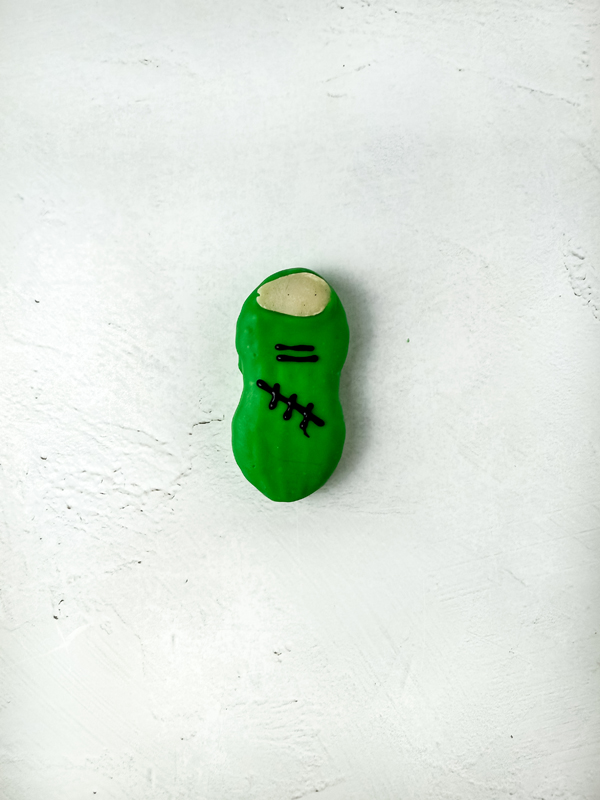
While the nutter butters are still wet, lay a sliced almond horizontally across the top of each one.
Place all the covered nutter butters in the freezers for 5-6 minutes.
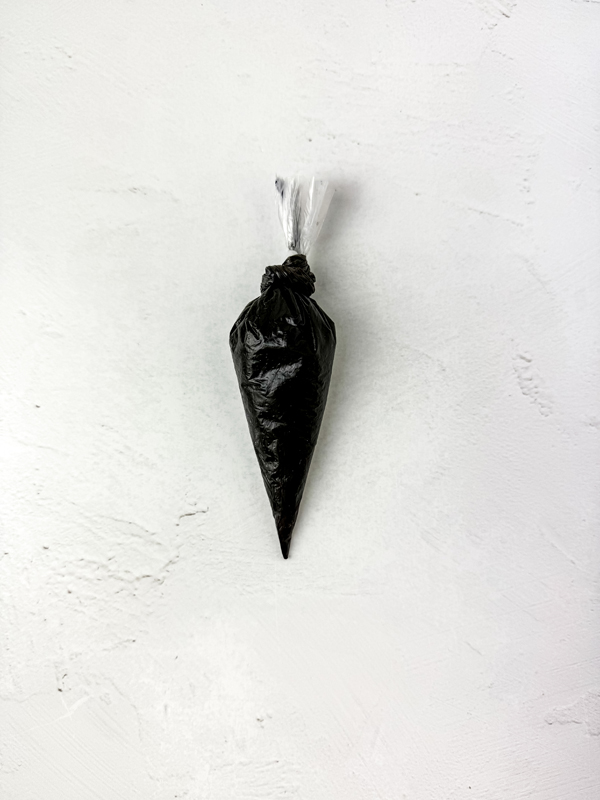
Next melt the black chocolate in a small bowl following the same steps as above. Put the melted chocolate in a piping bag and cut a tiny hole on the tip.
Pipe two lines under the almond to represent the knuckles of the fingers. Next pipe small stitch marks on random areas of the finger,
While the stitches dry, melt and bag the pink chocolate following the same steps as the black chocolate.
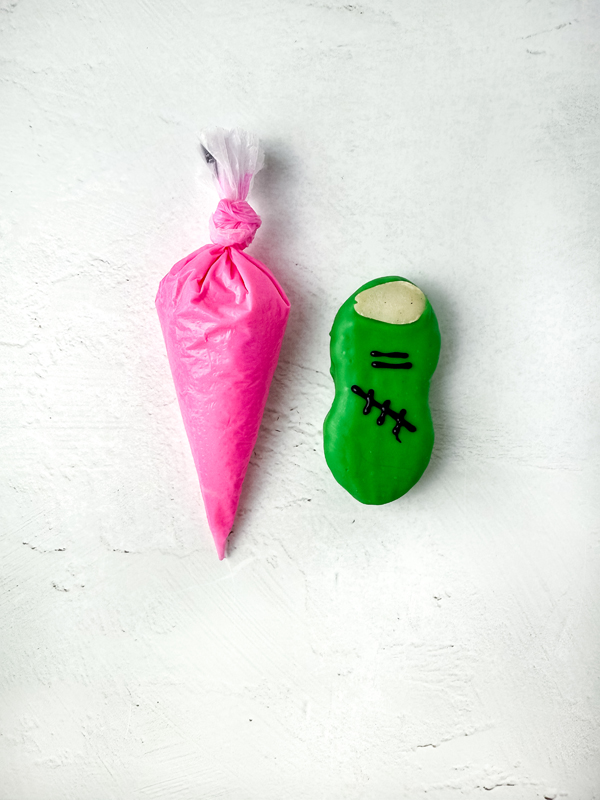
Pipe a small pink line around the bottom of the almond. Next pipe the pink chocolate all over the bottom of the nutter butter finger so it look severed. Let the finger sit for 6-8 minutes to harden.
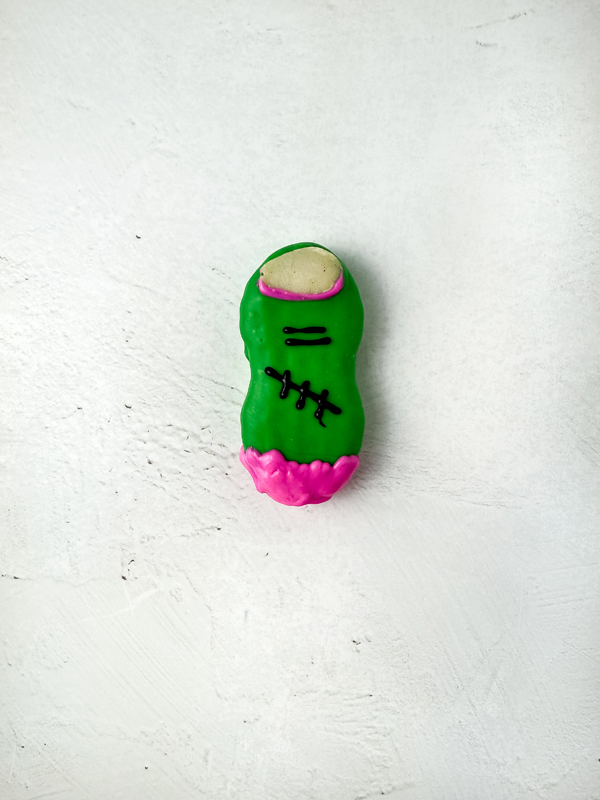
Serve and Enjoy!
FAQ
Can I use a different type of cookie instead of Nutter Butters?
Absolutely! While Nutter Butters are perfect for the finger shape, you can substitute with any oblong cookie, like Milano or Vienna Fingers.
What kind of green candy coating should I use?
Green candy melts work best, but you can also use white chocolate chips dyed with oil-based green food coloring.
How do I get the sliced almond to stick as the fingernail?
Dip one end of the coated cookie in a bit of melted candy, then press the sliced almond on top. Hold for a few seconds until secure.
Can I make these cookies ahead of time?
Yes! These zombie fingers can be made up to 5 days in advance. Store them in an airtight container at room temperature.
Do I have to use black and pink candy melts to decorate the fingers?
No! You can use premade gel food coloring instead of candy melts if it’s easier. Candy melts will be more vibrant, but gel food coloring can be less messy.