Your New Favorite No-Bake Holiday Treat: Rice Krispies Christmas Trees

It’s beginning to look a lot like snack time! This year, skip the tangled lights and glitter explosions and channel your holiday spirit into something sweet—Christmas Tree Rice Krispies Treats! These festive little trees are crunchy, gooey, and way less likely to shed needles on your carpet. With a knife, some icing, and a dash of Christmas magic (or sprinkles), you’ll have a forest of edible evergreens in no time. Warning: Santa may skip the cookies once he sees these on your dessert table!

Why you’ll want to make these treats:
- Festive and fun: They instantly bring holiday cheer to any dessert table.
- Easy to make: No baking required—just melt, mix, and decorate!
- Kid-friendly activity: Perfect for little helpers to get creative with icing and sprinkles.
- Customizable: Add different colors, candies, or decorations to make each tree unique.
- Great for parties or gifts: Cute, portable, and guaranteed to spread Christmas joy (and sugar)!
These Christmas Tree Rice Krispies Treats are Great for:
- Christmas parties – The perfect bite-sized festive dessert for guests of all ages.
- School holiday events – A fun, nut-free option that’s classroom-friendly and easy to share.
- Family movie nights – Enjoy while watching your favorite Christmas classics.
- Cookie exchanges – Stand out with a creative twist on traditional holiday treats.
- Office potlucks – Bring some cheer (and sugar) to your coworkers’ snack table.
- Holiday bake sales – Eye-catching and guaranteed to sell fast.
- Christmas Eve dessert spread – A whimsical addition alongside pies and cookies.
- DIY decorating parties – Let everyone decorate their own edible Christmas tree!
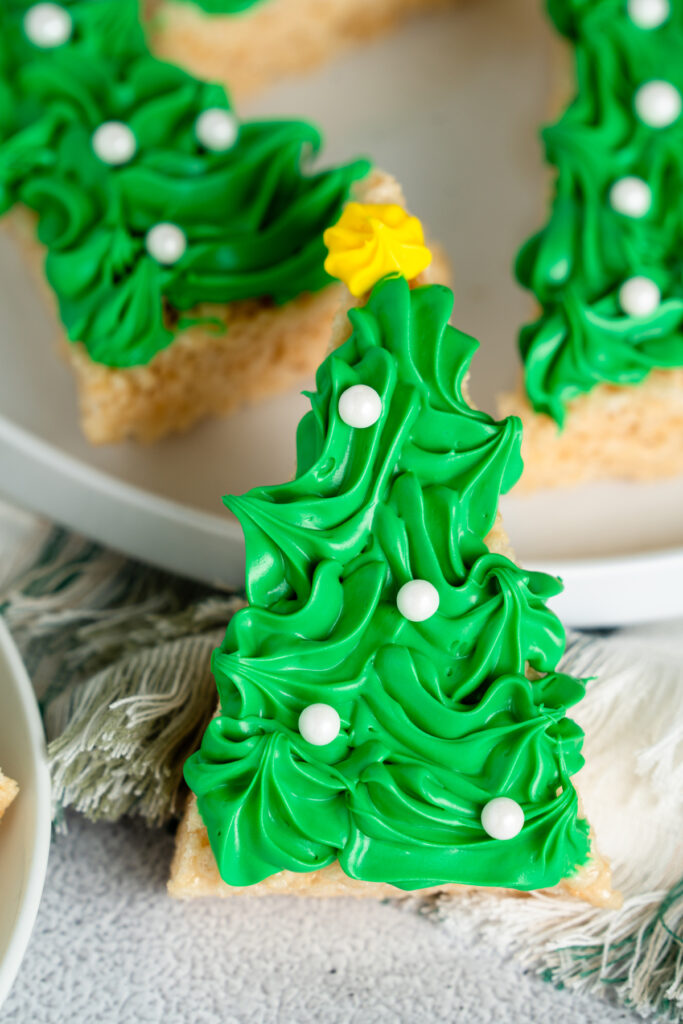
Christmas Tree Rice Krispies Treats
Servings: 8
Prep time: 15-20 minutes / Inactive time: 1 hour
Total time: 1 hour and 15 – 20 minutes
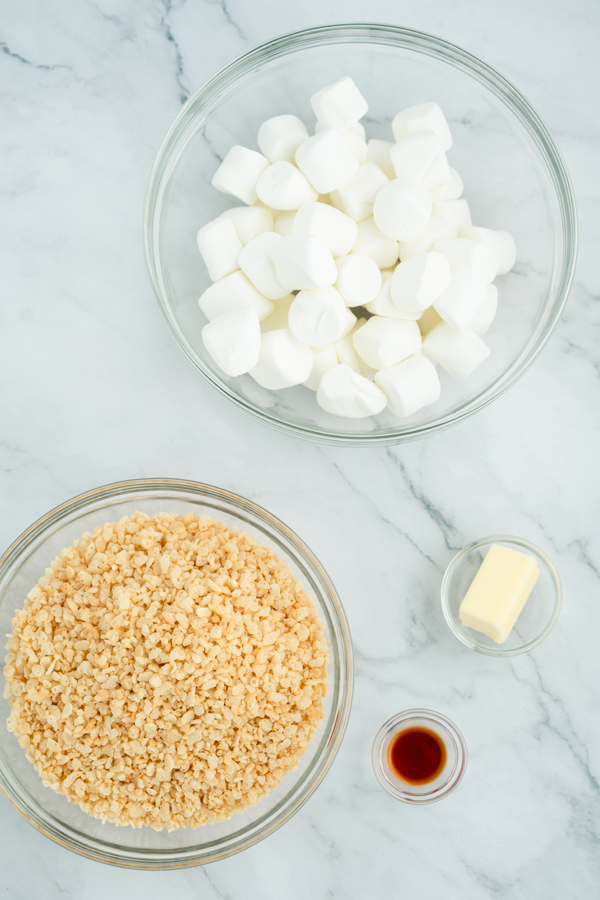
Ingredients
- 6 cups Rice Krispies cereal
- 3 tablespoons salted butter
- 1 teaspoon vanilla extract
- 12 ounce bag jumbo marshmallows
- 16 ounce container white frosting
- Green food coloring
- Yellow food coloring
- White sugar pearls or sprinkles
- Piping bag or Ziploc bag
Directions
In a large microwave-safe bowl, melt the butter. Add the melted butter to the bowl of marshmallows and toss to coat. Microwave for 2–3 minutes, or until the marshmallows puff up and begin to melt.
Stir the mixture, then mix in the vanilla extract.
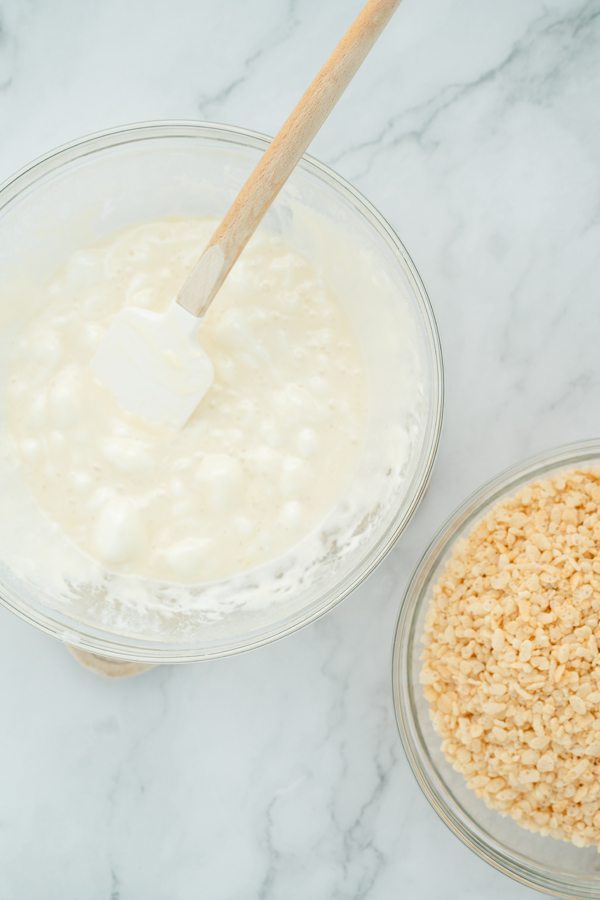
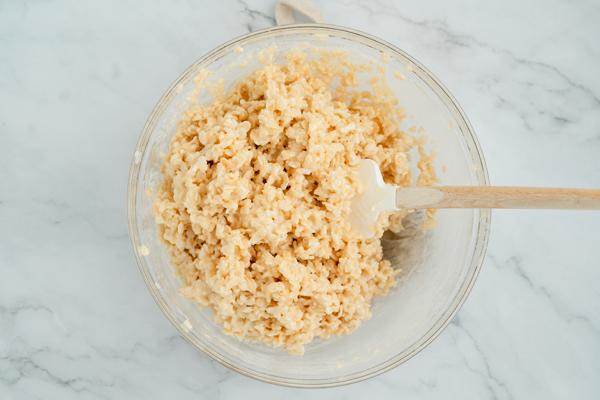
Add the Rice Krispies cereal and stir until everything is evenly coated.
Press the mixture into an 8 x 11.5 inch baking dish lined with parchment paper. Use a wet spatula to spread it out evenly.
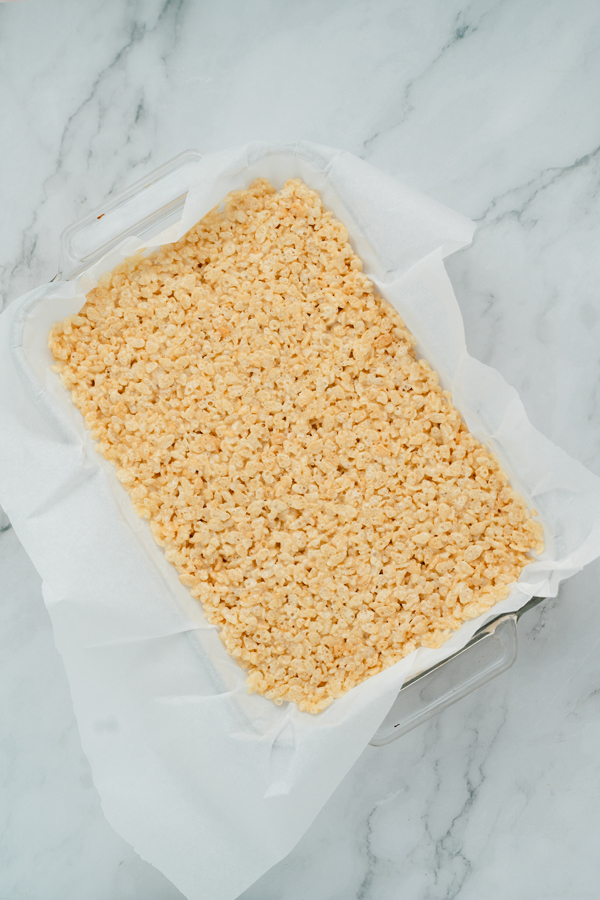
Let sit at room temperature for about 1 hour, or until firm.
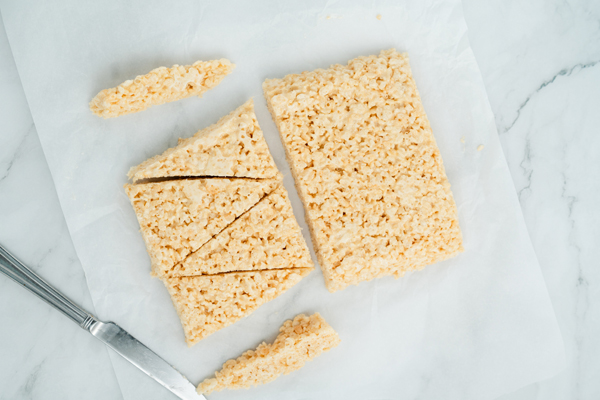
Lift the treats out of the pan using the parchment paper.
Using a knife, cut them into 2 sections.

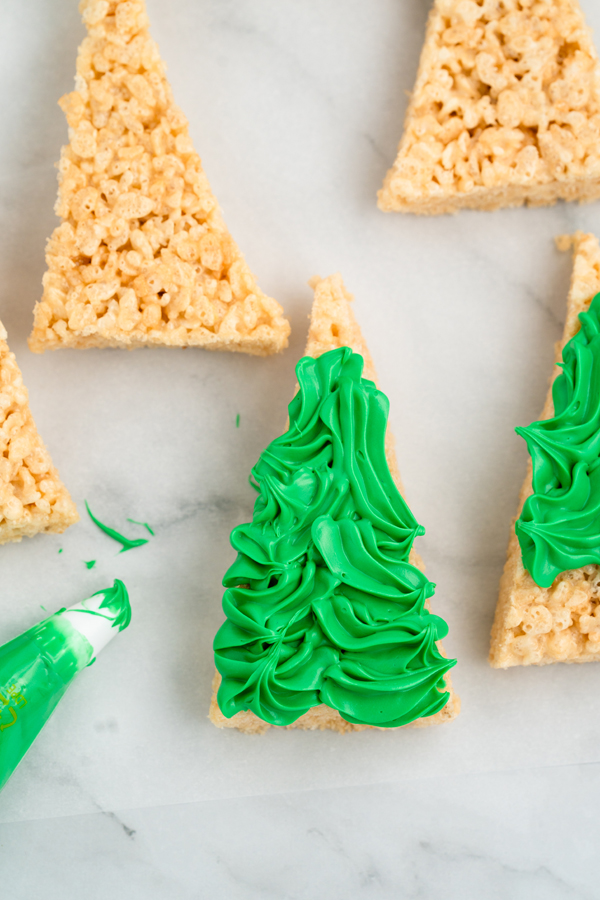
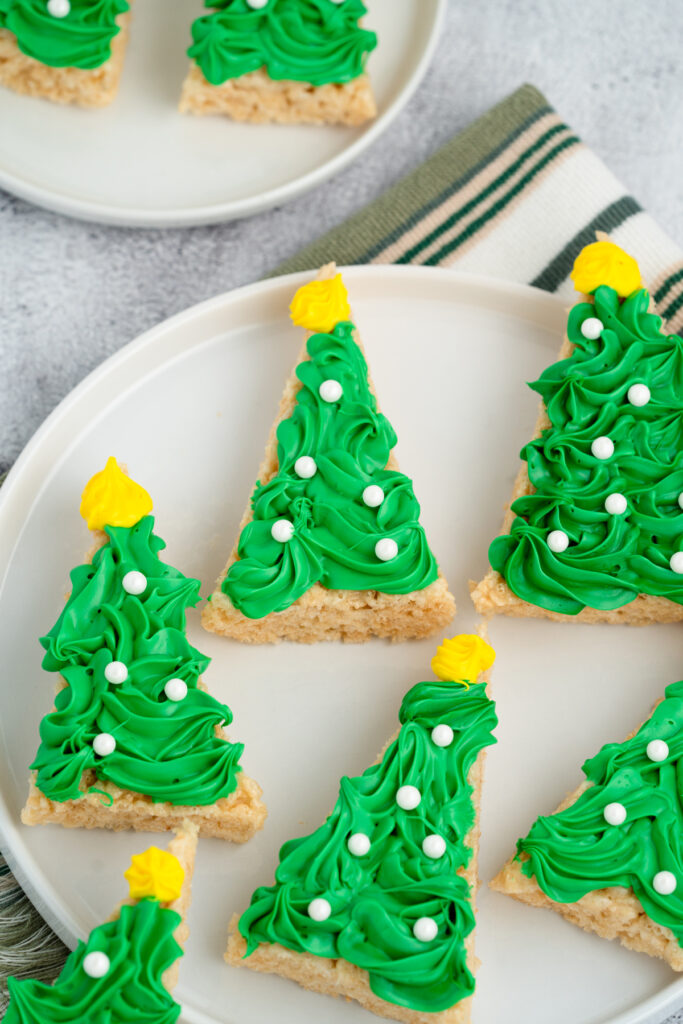
Then cut each section into large triangles (about four per side) to create tree shapes.
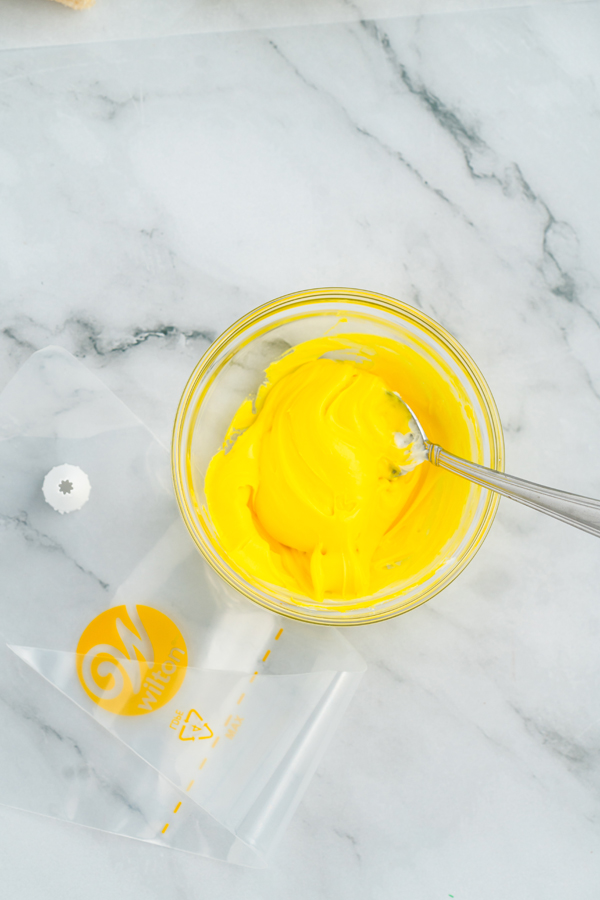
Divide the icing into two bowls. Place about 1/3 of the icing in one bowl and color it yellow.
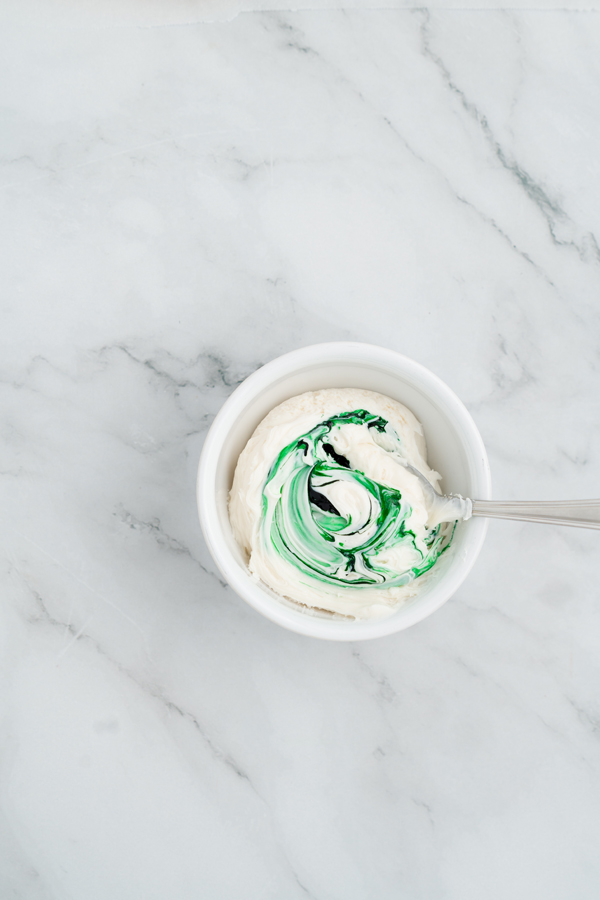
Color the remaining icing green. Transfer each color into separate piping bags fitted with a star piping attachment (optional).
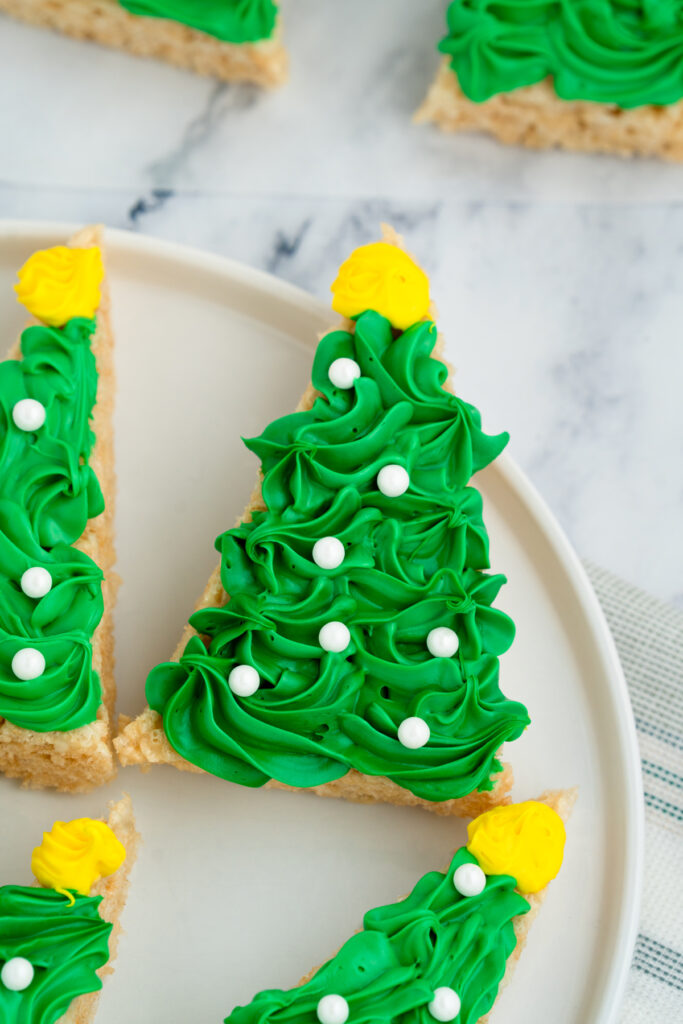
Pipe green icing onto each triangle, starting just below the top and swooping down side to side to mimic branches.
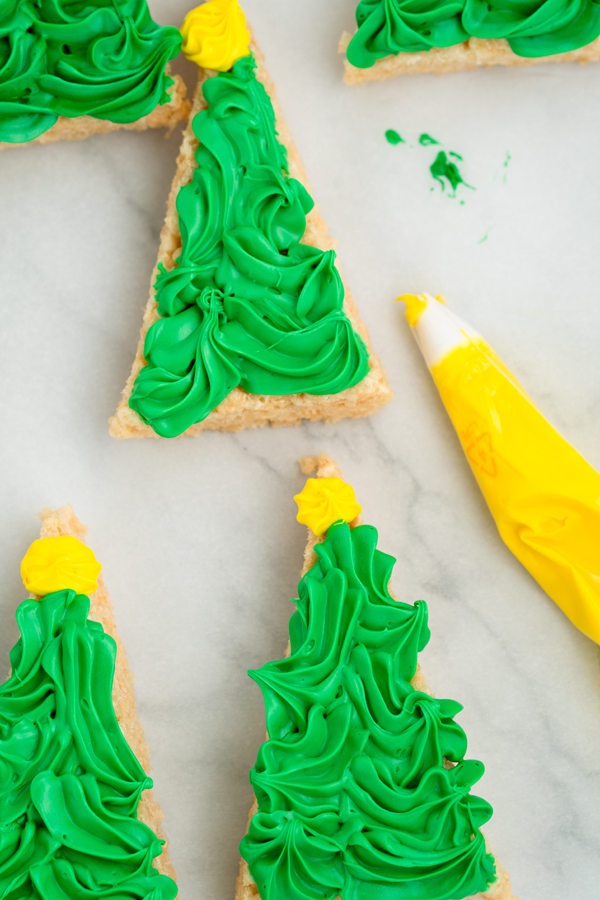
Add a yellow dot of icing at the top of each tree for the star. Top with sprinkles.
FAQ
Can I use homemade frosting instead of premade?
Absolutely! If you prefer homemade frosting, go for it—just make sure it’s thick enough to hold its shape when piped onto the treats.
How do I tint the frosting the perfect shade of green?
Add food coloring a drop at a time, mixing well after each addition. Gel food coloring works best because it gives vibrant color without thinning the frosting.
How far in advance can I make these treats?
You can make them up to two days ahead! Store them in an airtight container at room temperature to keep them soft and fresh.
Can I freeze the decorated treats?
Yes, but freeze them before adding any delicate decorations. When ready to serve, let them thaw at room temperature, then add your icing and sprinkles for a fresh, festive finish!
Tips & Tricks
- Grease your tools: Lightly butter or spray your spatula and knife so the treats don’t stick.
- Work quickly: The mixture sets fast, so press it into the pan quickly and evenly.
- Even thickness: Press the mixture into the pan evenly so all your trees are the same size and shape.
- Decorate after cooling: Let the treats cool completely before adding frosting to prevent melting.
- Vary the decorations: If you’re having a treat decorating party, you can use a variety of sprinkles, colored sugar, or edible glitter so everyone can customize their treats.
Now you have a forest of sweet, festive Christmas Tree Rice Krispies Treats ready to spread cheer (and maybe a little frosting) all around! Whether you’re making them with kids, serving them at a party, or just sneaking one while wrapping gifts, these treats are guaranteed to make your holiday season a little brighter and a lot more delicious. So grab your sprinkles, turn up the Christmas tunes, and get decorating—it’s time to treat yo’elf!