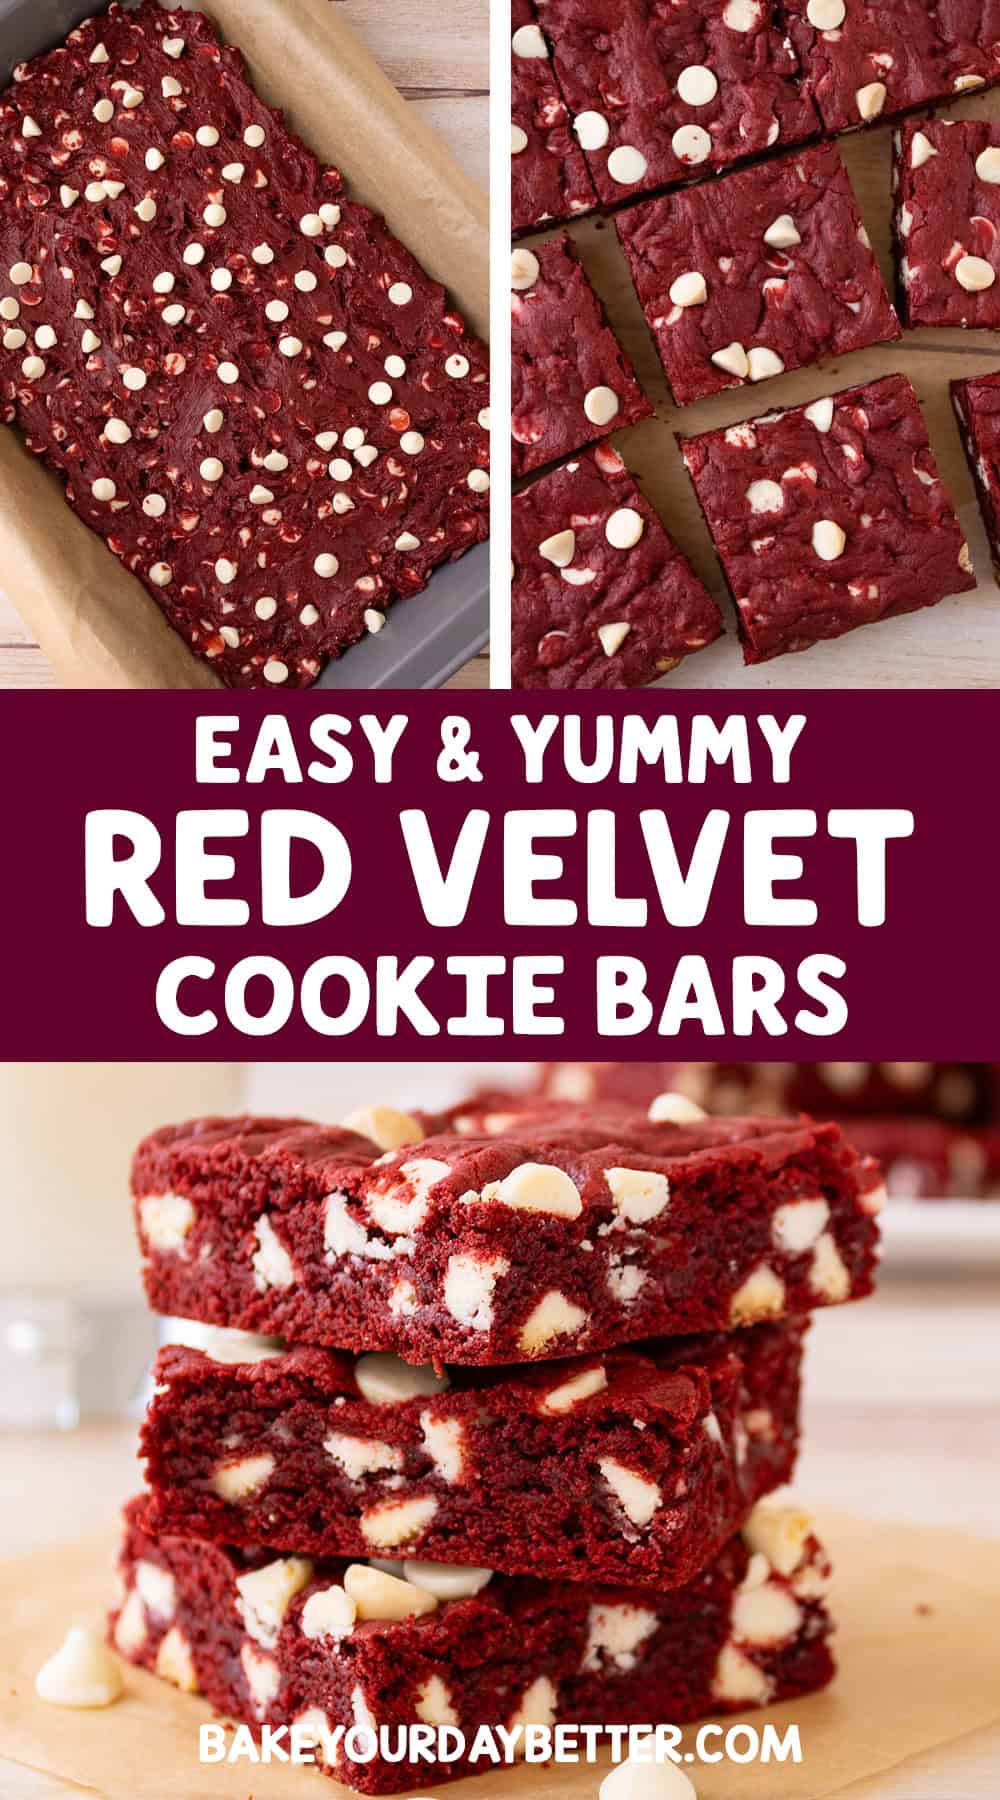
Red Velvet Cookie Bars That Taste Like a Bakery Treat


Get ready to fall in love with dessert all over again—these Red Velvet Cookie Bars are rich, chewy, and irresistibly easy to make. Starting with a red velvet cake mix, this recipe transforms a classic favorite into thick, bakery-style cookie bars packed with white chocolate chips. They’re soft in the center, slightly crisp on the edges, and bursting with that signature red velvet flavor. Perfect for holidays, parties, or anytime a sweet craving strikes, these bars come together in no time at all. One bite and you’ll see why this recipe is a total crowd-pleaser!
Why you’ll love these red velvet cookie bars:
- They’re incredibly easy to make thanks to the shortcut of using a red velvet cake mix
- The combination of rich red velvet and sweet white chocolate chips is completely irresistible
- Perfect for sharing at parties, holidays, potlucks, or bake sales
- Soft, chewy cookie bar texture with minimal prep and cleanup
- A fun twist on classic red velvet that feels bakery-worthy without the extra effort
These cookie bars are perfect for:
- Holiday gatherings like Valentine’s Day, Christmas, or Fourth of July
- Birthday parties and family celebrations
- Potlucks, bake sales, and school events
- Game days, movie nights, or casual get-togethers
- Baby showers, bridal showers, or wedding dessert tables
- Office parties or treat days at work
- As a sweet homemade gift for friends and neighbors
To make these red velvet bars you’ll need:
- 9 x 13 baking pan (metal is best)
- parchment paper
- ½ cup butter, softened
- 2 eggs
- 1 teaspoon vanilla extract
- 1 (15.2 oz) box of red velvet cake mix
- 2 cups white chocolate chips, divided
DIRECTIONS
- Preheat oven to 350 F°. Line a 9×13 baking pan with parchment paper, leaving the sides long enough to create a sling.
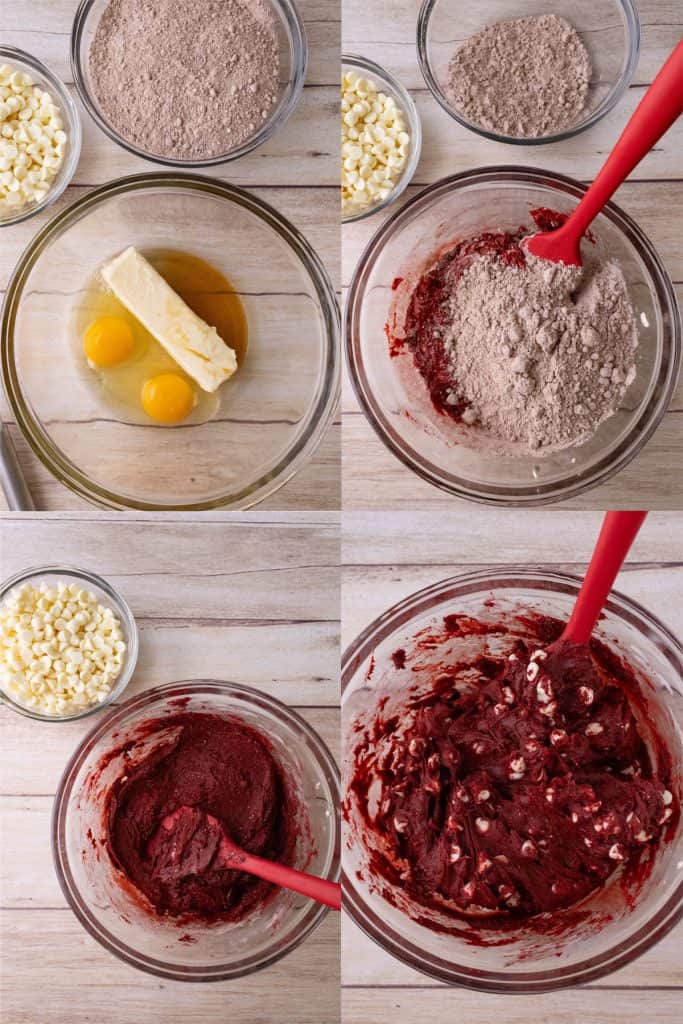
- Using a hand mixer, blend the butter, eggs, and vanilla.
- Slowly stir in the cake mix with a spatula until just combined. The batter will be thick.
- Fold in all but 3 tablespoons of the white chocolate chips.
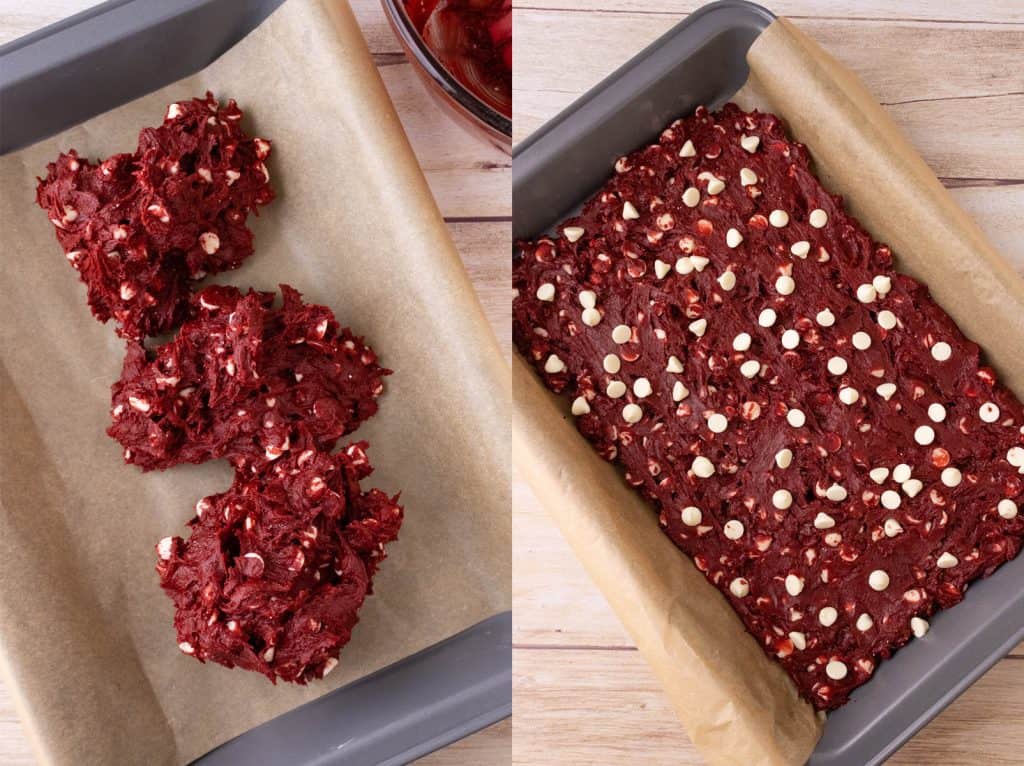
- Scoop the dough into the pan in thirds, placing one-third in the middle of the pan and one-third on each side of the pan to help it spread easier. Level the dough and top with 3 tablespoons of white chocolate chips.
- Bake for 18-22 minutes until the top is set and a toothpick inserted into the center comes out clean.
- Allow the cookie bars to fully cool in the pan.
VARIATIONS
- Red Velvet Cake Mix Cookie Bars are also delicious topped with frosting, powdered sugar, a chocolate drizzle, or even ice cream!
- You can customize this recipe by including other mix-ins such as nuts, peanut butter chips, or shredded coconut.
- You can also switch out the white chocolate chips with other chocolate chips.
STORAGE
- Cookie bars can be stored in a covered container at room temperature for up to one week.
- Cookie bars can be frozen for 3 months in a sealed container. Allow them to thaw at room temperature.
TIPS
- This recipe bakes best in a metal baking pan, since metal pans cook more evenly than glass.
- This is a thick cookie dough. You can spread it with the back of a large spoon or a spatula, but I found clean, slightly damp hands work best.
FAQ
Can I use a different flavor of cake mix?
Yes! While red velvet gives these bars their signature flavor and color, you can swap in chocolate, vanilla, or even strawberry cake mix for a fun variation.
Do I need to chill the dough before baking?
No chilling is required, which makes this recipe extra quick and convenient. Simply mix, spread into the pan, and bake.
How should I store red velvet cookie bars?
Store the bars in an airtight container at room temperature for up to 3 days, or refrigerate them for up to a week for longer freshness.
Can I freeze these cookie bars?
Absolutely! Once cooled, wrap the bars tightly and freeze for up to 3 months. Thaw at room temperature before serving.
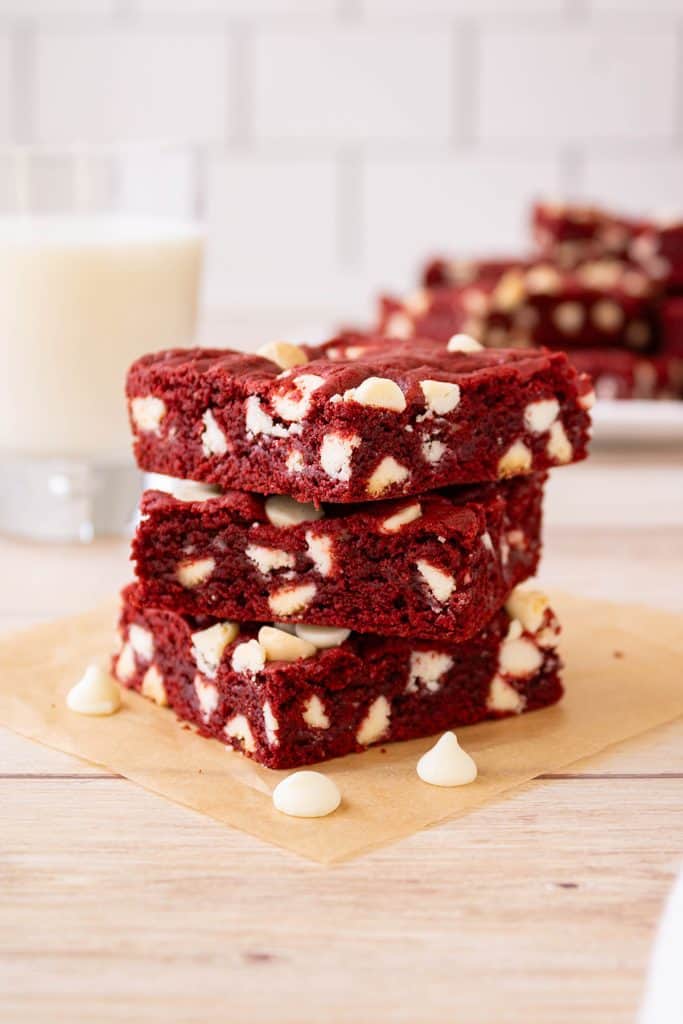
These Red Velvet Cookie Bars are the kind of dessert that disappear fast and get requested even faster. With their chewy texture, sweet pops of white chocolate, and eye-catching color, they’re guaranteed to steal the show wherever you serve them. Whether you’re baking for a special occasion or just treating yourself, this recipe keeps things simple without sacrificing flavor. Grab a pan, mix up a batch, and enjoy every delicious bite. Don’t be surprised if these bars become a new favorite in your dessert rotation!