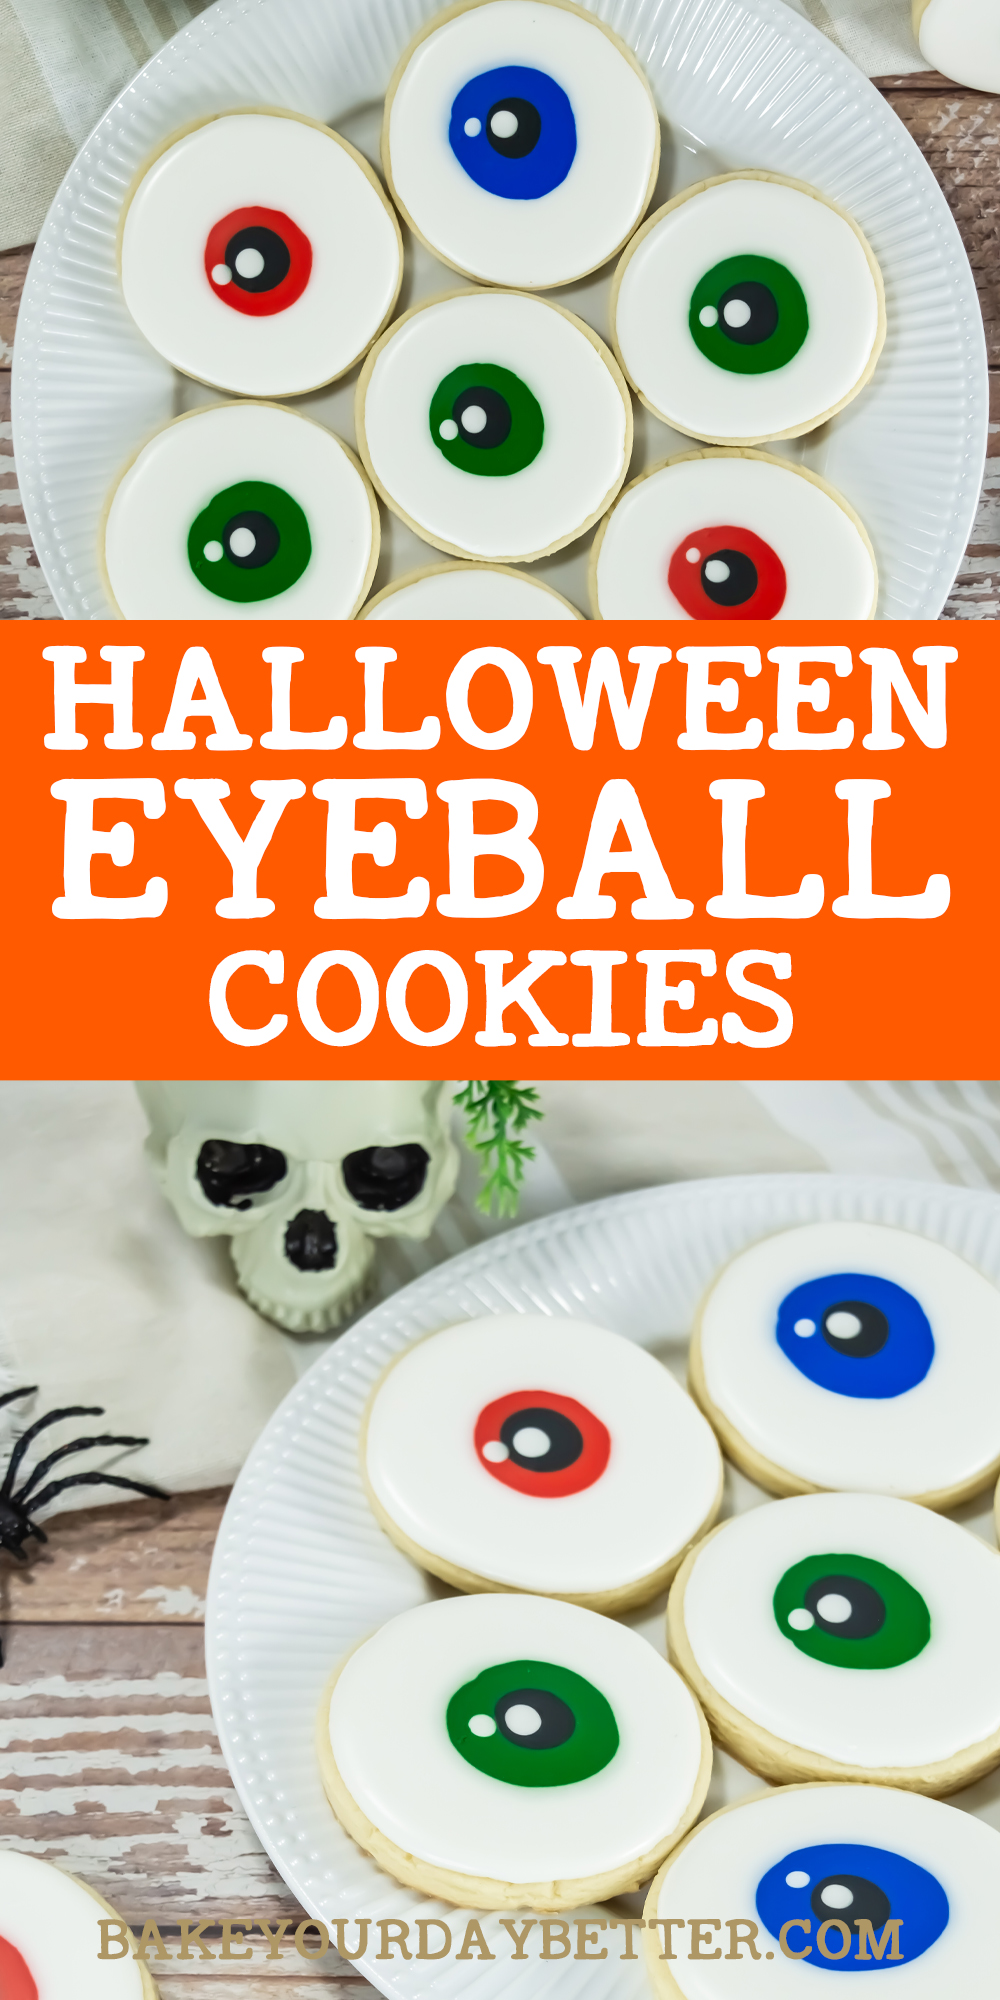
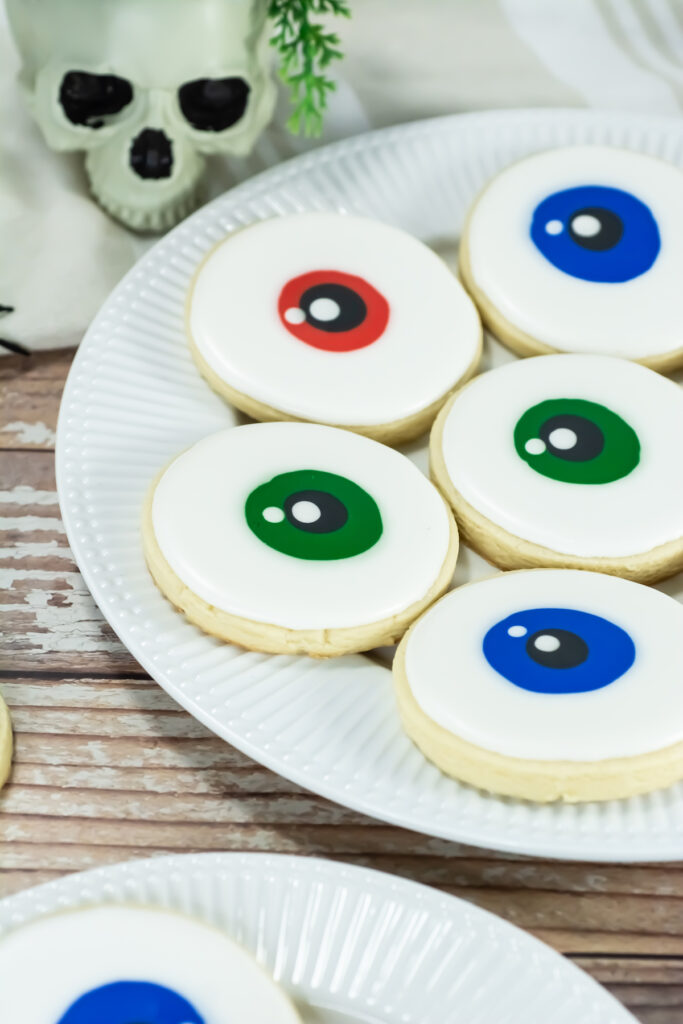
I’ve Got My Eyes on You: Halloween Eyeball Sugar Cookies

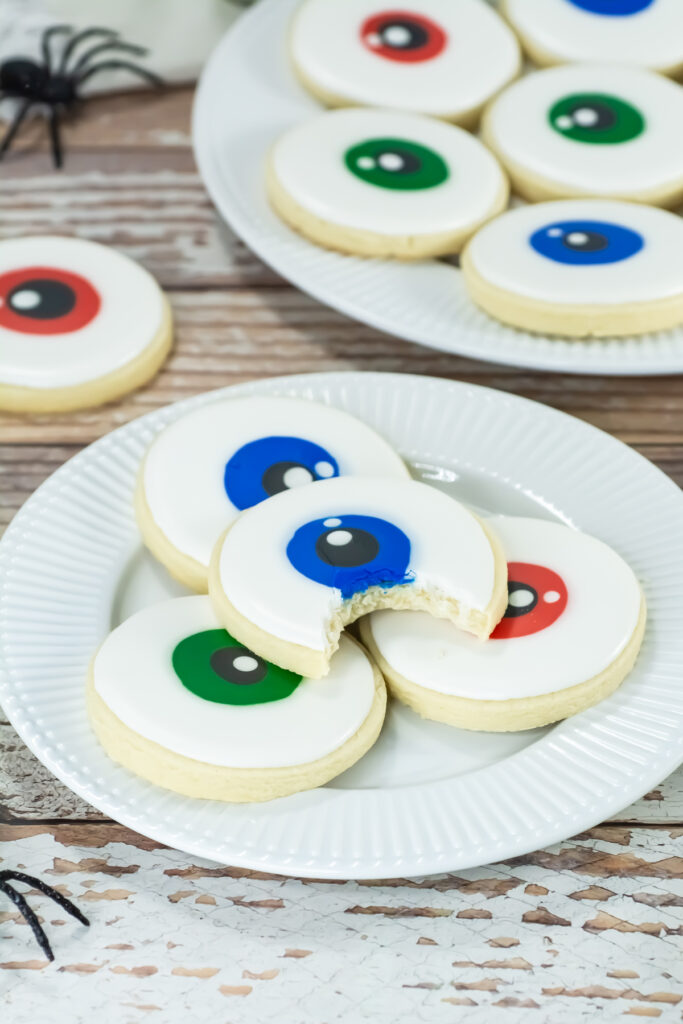
Halloween is the one time of year when cookies can stare back at you. Don’t worry, these eyeballs are more cute than creepy. These homemade Halloween cookies are made with soft sugar cookies and colorful icing. Kids will love decorating them, and adults will love eating them. Just be warned…you might feel like someone is watching you from the cookie plate!
Why you’ll want to make these eyeball sugar cookies:
- They look fun, not scary.
- The sugar cookies are soft and sweet.
- Tinted icing makes decorating easy.
- Kids can help make them.
- Easily make them ahead of time.
- Double or triple the recipe for large crowds or bake sales!
These Halloween cookies are great for:
- Halloween parties for kids or adults
- Classroom celebrations at school
- Family movie nights with spooky (but not too scary) films
- Trick-or-treat night snacks at home
- Office Halloween potlucks
- A fun baking day with friends or family in October
Halloween Eyeball Sugar Cookies
Prep time: 30 minutes / Bake time: 10-12 minutes
Servings: 24-36 cookies
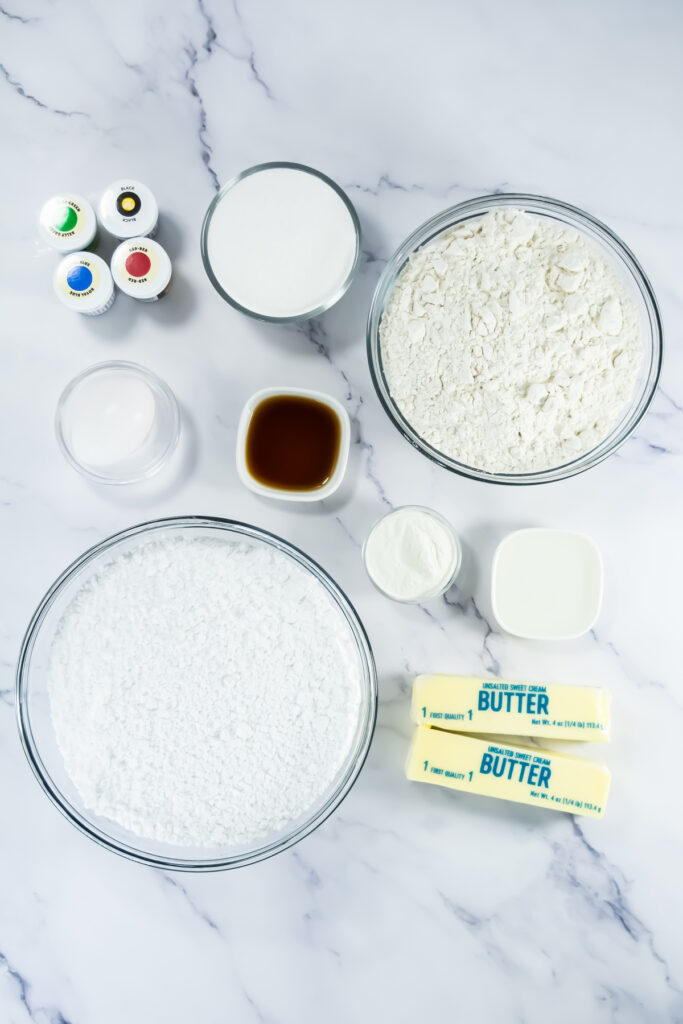
Ingredients
For the cookies
- 1 cup sugar
- 1 cup unsalted butter, softened
- 1 egg
- 1 tsp vanilla
- 3 cups flour
For the icing
- 4 cups powdered sugar, divided
- 2 Tbsp meringue powder
- 2 tsp vanilla, divided
- ½-¾ cup water, divided
- 2 Tbsp corn syrup
To decorate
- Black, green, blue and red food coloring
Directions
Preheat the oven to 350 degrees. Line your baking sheets with parchment and set aside.
In the bowl of a stand mixer, combine the sugar and butter. Cream until smooth.
Add in the vanilla and egg. Mix well.
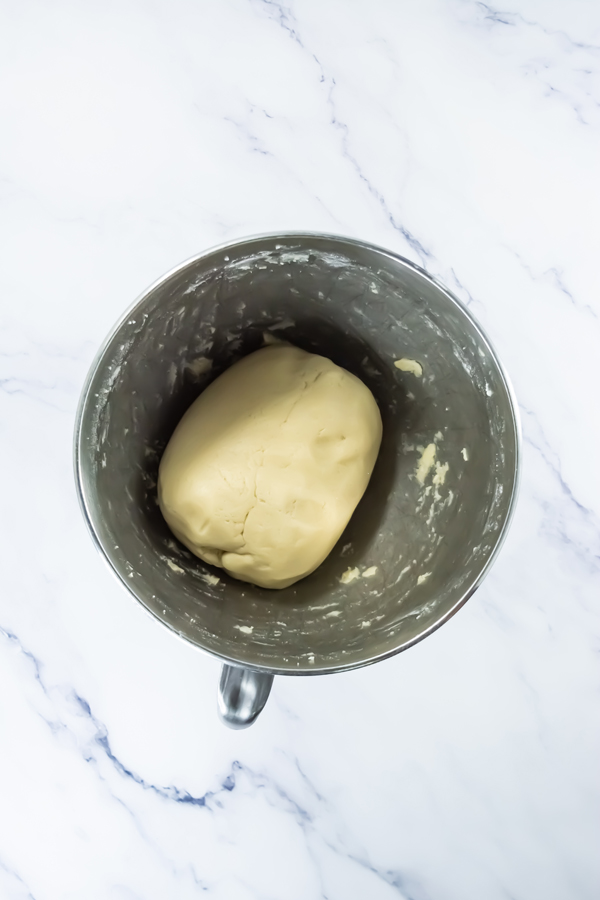
Switch the mixer attachment to the paddle and add in the flour. Mix until the dough balls together and pulls away from the sides of the bowl. If your mixer is struggling, you can knead the dough by hand.
Using a lightly floured work surface, roll the cookie dough out until it’s about ½ – ⅝ of an inch thick. Using a round cookie cutter, cut out cookie dough. Save and reroll the scrapes until the dough is too small to continue.
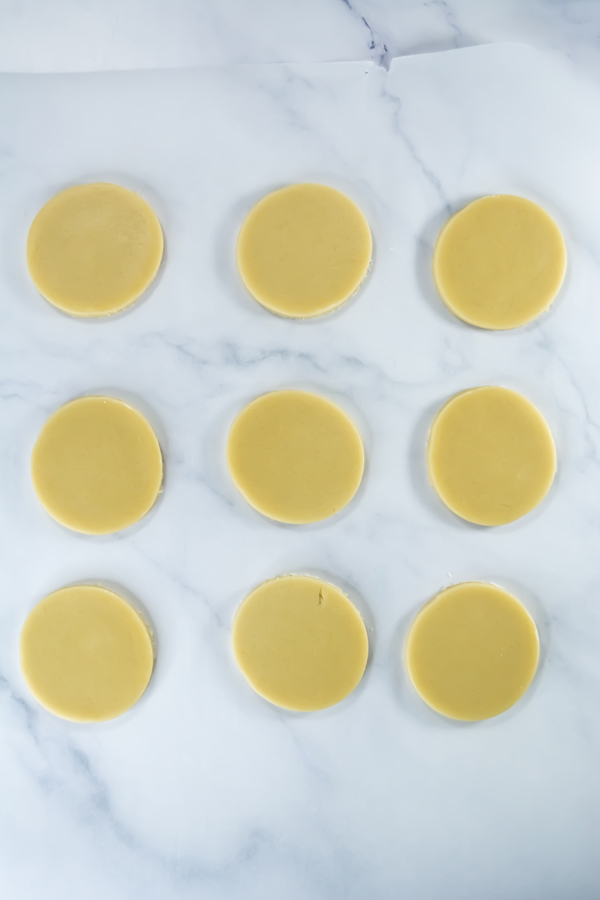
Carefully transfer your cut out dough to the parchment lined baking sheets. Bake in the preheated oven for 10-12 minutes. Watch closely – over baking will cause hard cookies. Cookies are done when the edges are set and the center is no longer shiny.
Allow to cool before decorating.
For the icing:
In the bowl of the stand mixer, combine the 2 cups powdered sugar, meringue powder and 1 tsp vanilla. Using the paddle attachment, mix on low speed for about 30 seconds. Add in 3 teaspoons worth of water as the mixer is going. Allow to mix until combined. Increase the speed to medium for another 2-3 minutes. The icing will be very stiff. Transfer to another bowl and cover with a damp paper towel.
Using the same mixing bowl, combine the other 2 cups of powdered sugar, corn syrup, 2 tablespoons of water and the other teaspoon of vanilla. Mix on low speed until combined with the whisk attachment.
Combine the two icing mixtures into one bowl and whisk until smooth. Add in additional water if needed to thin the mixture. Using a spatula, scoop a bit of icing up and allow it to drop back into the bowl.
The icing should re-incorporate back into itself and settle within about a 12-15 second count. Too thin of icing will need a bit more powder sugar and too thick of icing will need another dash of water.
Continue to test if needed until desired consistency is achieved. Thin icing spreads nicely but can run over the edges of the cookie.
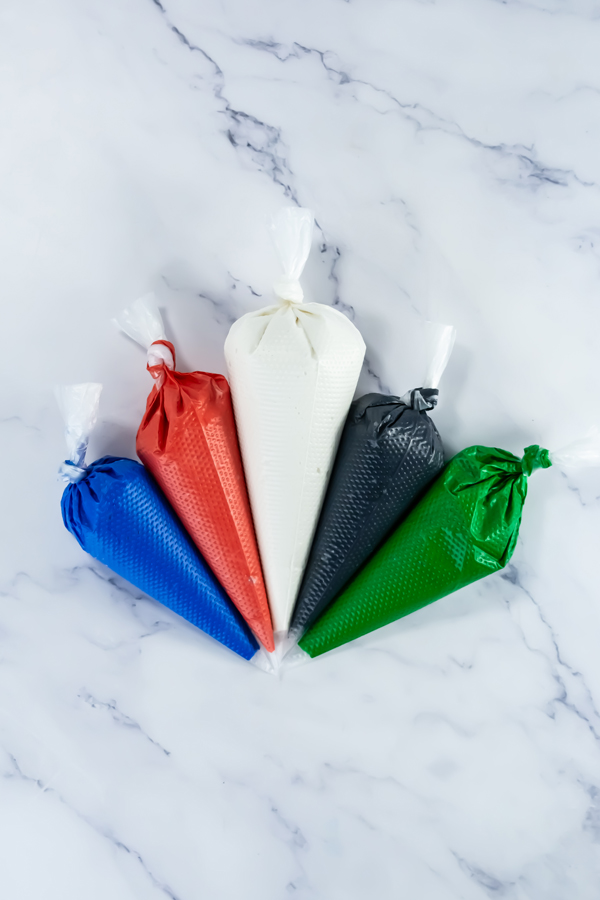
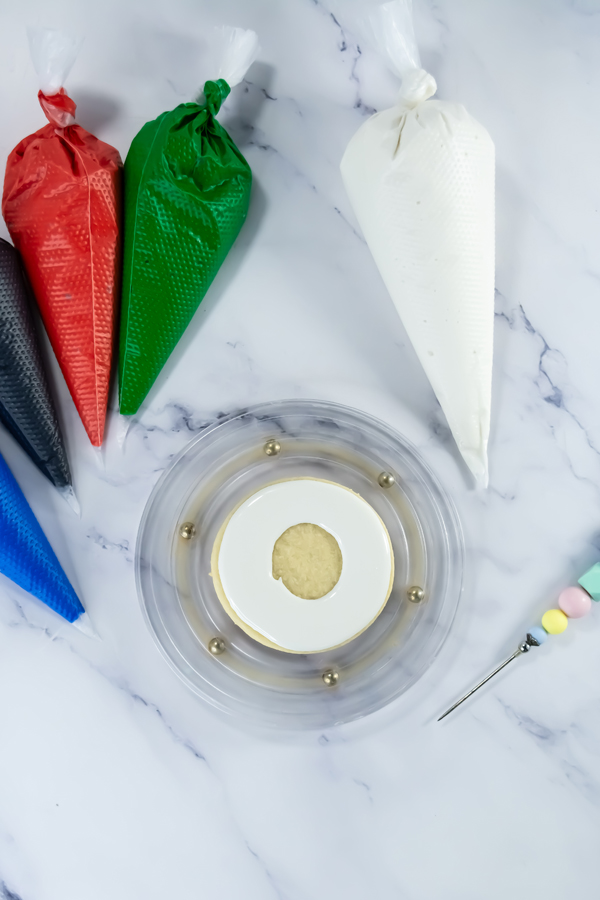
Transfer half of the white icing to a piping bag.
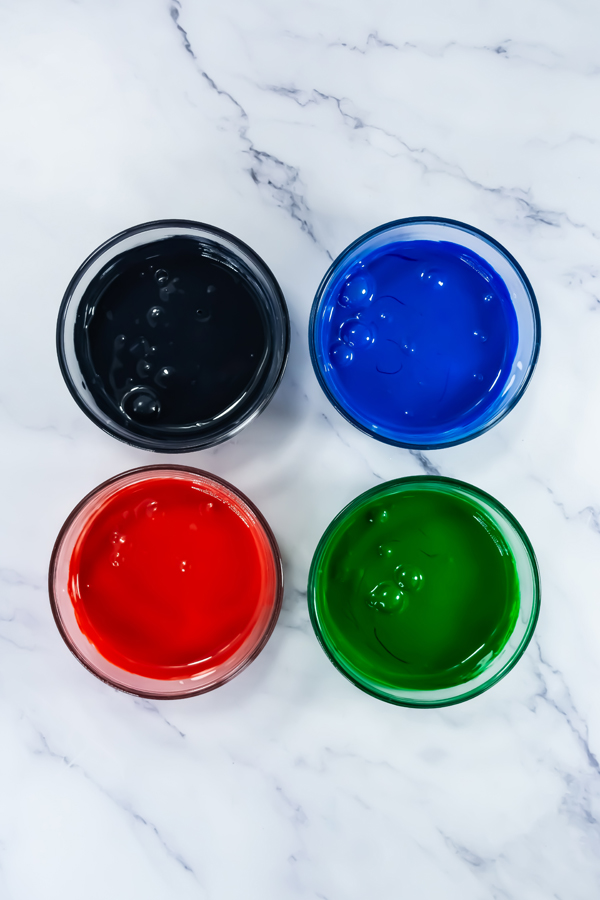
Transfer the rest of the icing to four separate bowls and tint each with the black, red, blue and green food coloring.
Transfer the tinted icing to piping bags.
When ready to decorate, snip a tiny bit off the tip of the piping bag. You can always cut the hole bigger if the icing is not flowing as quickly as you’d like.
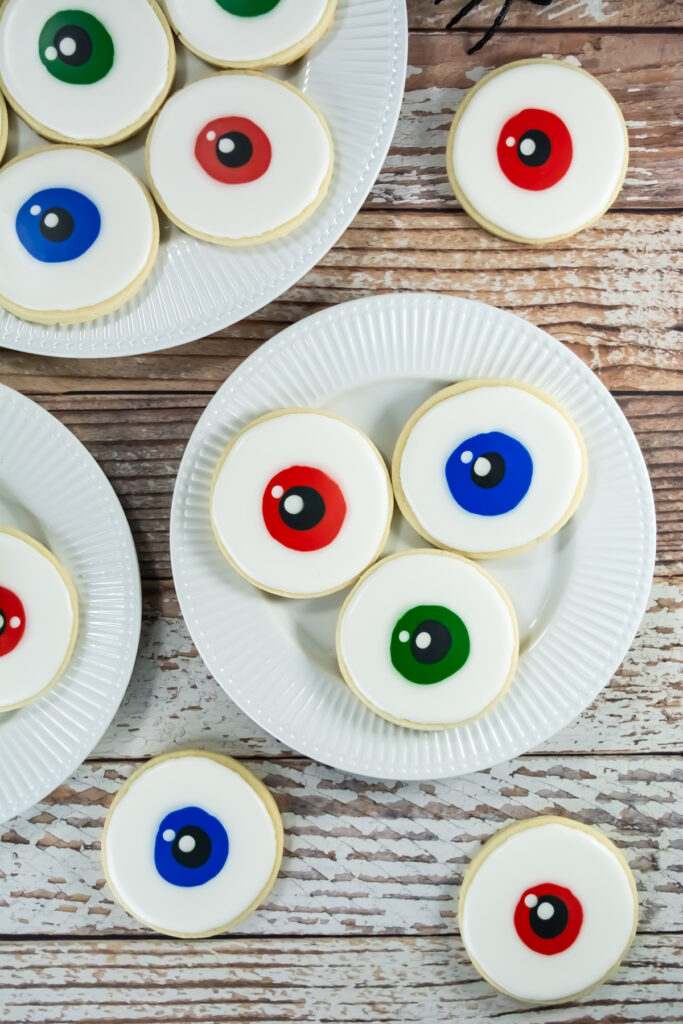
Starting with the white icing, pipe a large donut shape, leaving the center empty.
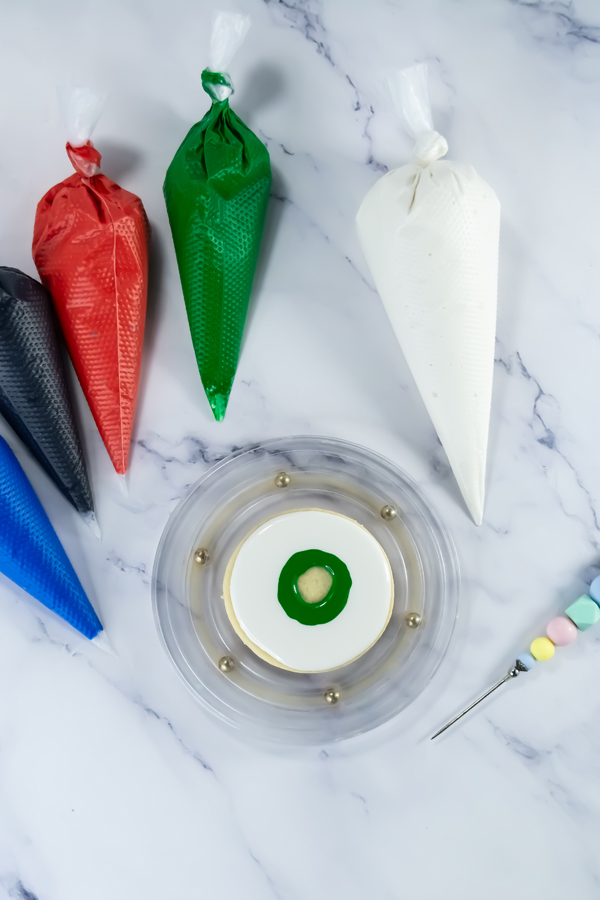
Pipe another round of a colored icing for the iris of the eye – blue, red or green.
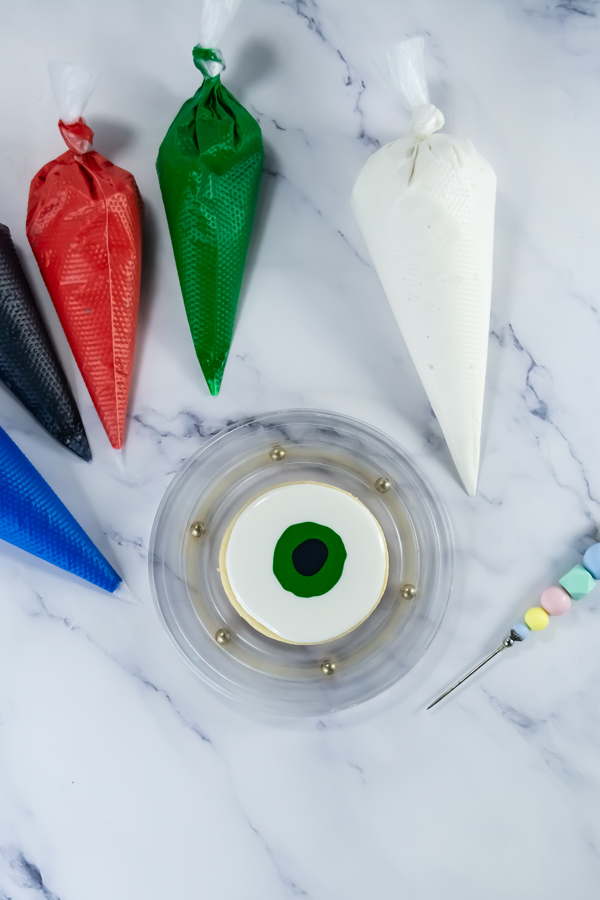
Immediately pipe the black in the center of the eyeball.
Immediately pipe two small white dots for the reflection off the eye in the corner of the pupil and iris.
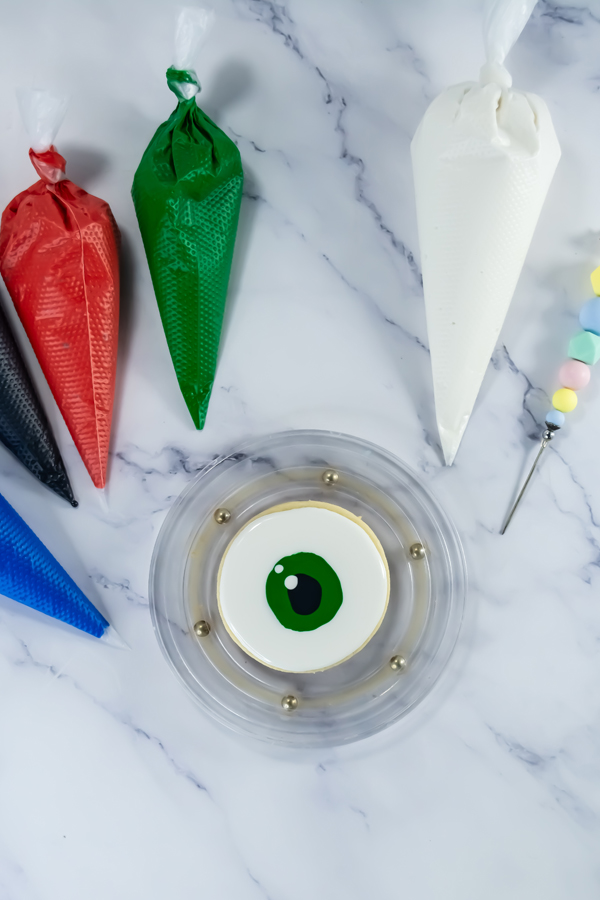
Repeat with the remaining cookies.
Storage:
- Cookies will need about 24 hours for the icing to set before they can be stacked.
- During this time, they can be on a cooling rack or baking sheet at room temp.
- Once decorated and set, they need to be stored in an airtight container for up to a week or frozen for 3 months.
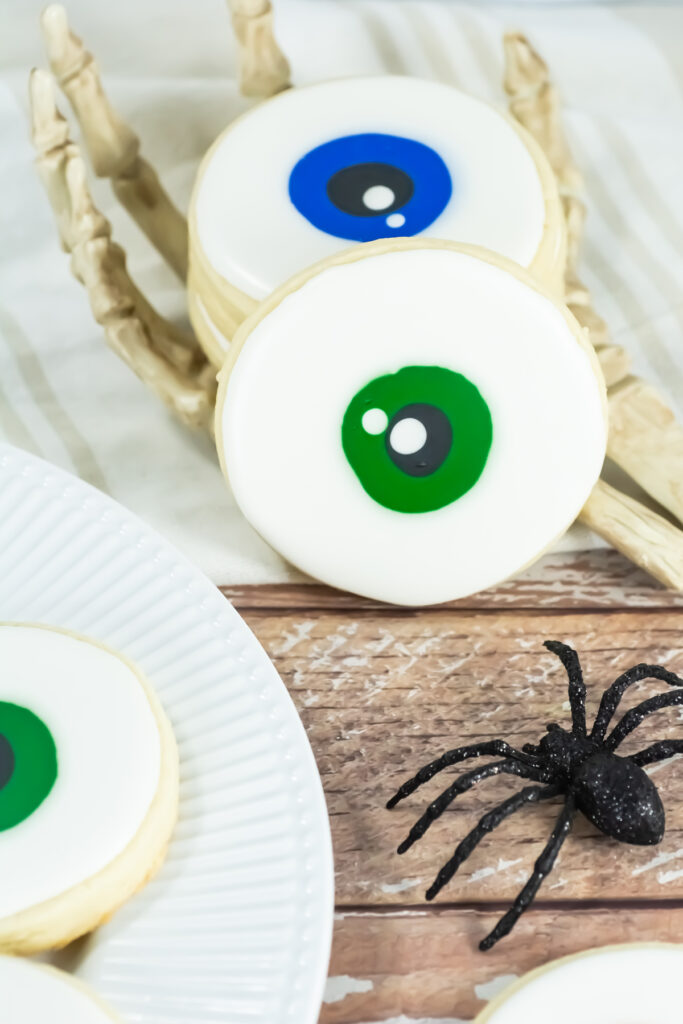
Ideas for displaying these Halloween Eyeball Cookies:
- On a spooky platter: Arrange them on a black or orange tray with candy eyeballs scattered around.
- In a “monster eye” jar: Stack cookies in a clear jar and label it “Monster Eyes.”
- Cupcake toppers: Place a cookie on top of a frosted cupcake for double the treat.
- On a dessert board: Mix them in with other Halloween snacks like popcorn, candy corn, and pretzels.
- Individually wrapped: Slip each cookie into a clear bag with a ribbon for party favors or trick-or-treat handouts.
FAQ
Can I make the cookies ahead of time?
Yes! You can bake and decorate the cookies up to 3 days ahead of time.
Do I need special tools to decorate them?
Nope! You just need icing, food coloring, a spoon or piping bag, and a little creativity.
Can I use store-bought cookie dough?
Absolutely. Store-bought dough works great if you want to save time.
Can I use store-bought icing?
This homemade icing is thin enough to create a smooth surface on the cookies, making them stackable and giftable. If you use store-bought icing it won’t be the same, but if you just want to decorate with them with the kids and eat them right away, store-bought icing will be fine!
How should I store the cookies?
Keep them in an airtight container at room temperature for up to 3 days.
Tips & Tricks
- Chill your cookie dough before cutting shapes to keep the edges neat.
- Use gel food coloring for brighter, bolder icing colors.
- Keep royal icing covered with a damp towel when not in use so it doesn’t dry out.
- Start with a thicker icing for outlines, then thin it slightly for filling in.
- Let each icing layer dry before adding details to prevent colors from running.
Troubleshooting Guide
- Cookies spread too much → Chill the dough longer before baking and be sure your baking sheet isn’t warm.
- Icing is too runny → Add more powdered sugar a little at a time until it thickens.
- Icing is too thick → Mix in a few drops of water until it flows smoothly.
- Colors bleed together → Let one color dry completely before adding the next.
These Halloween Eyeball Sugar Cookies are the perfect mix of sweet and silly. They’re fun to bake, easy to decorate, and guaranteed to get some laughs. Serve them at your next Halloween gathering, and watch everyone keep an eye on the cookie plate!